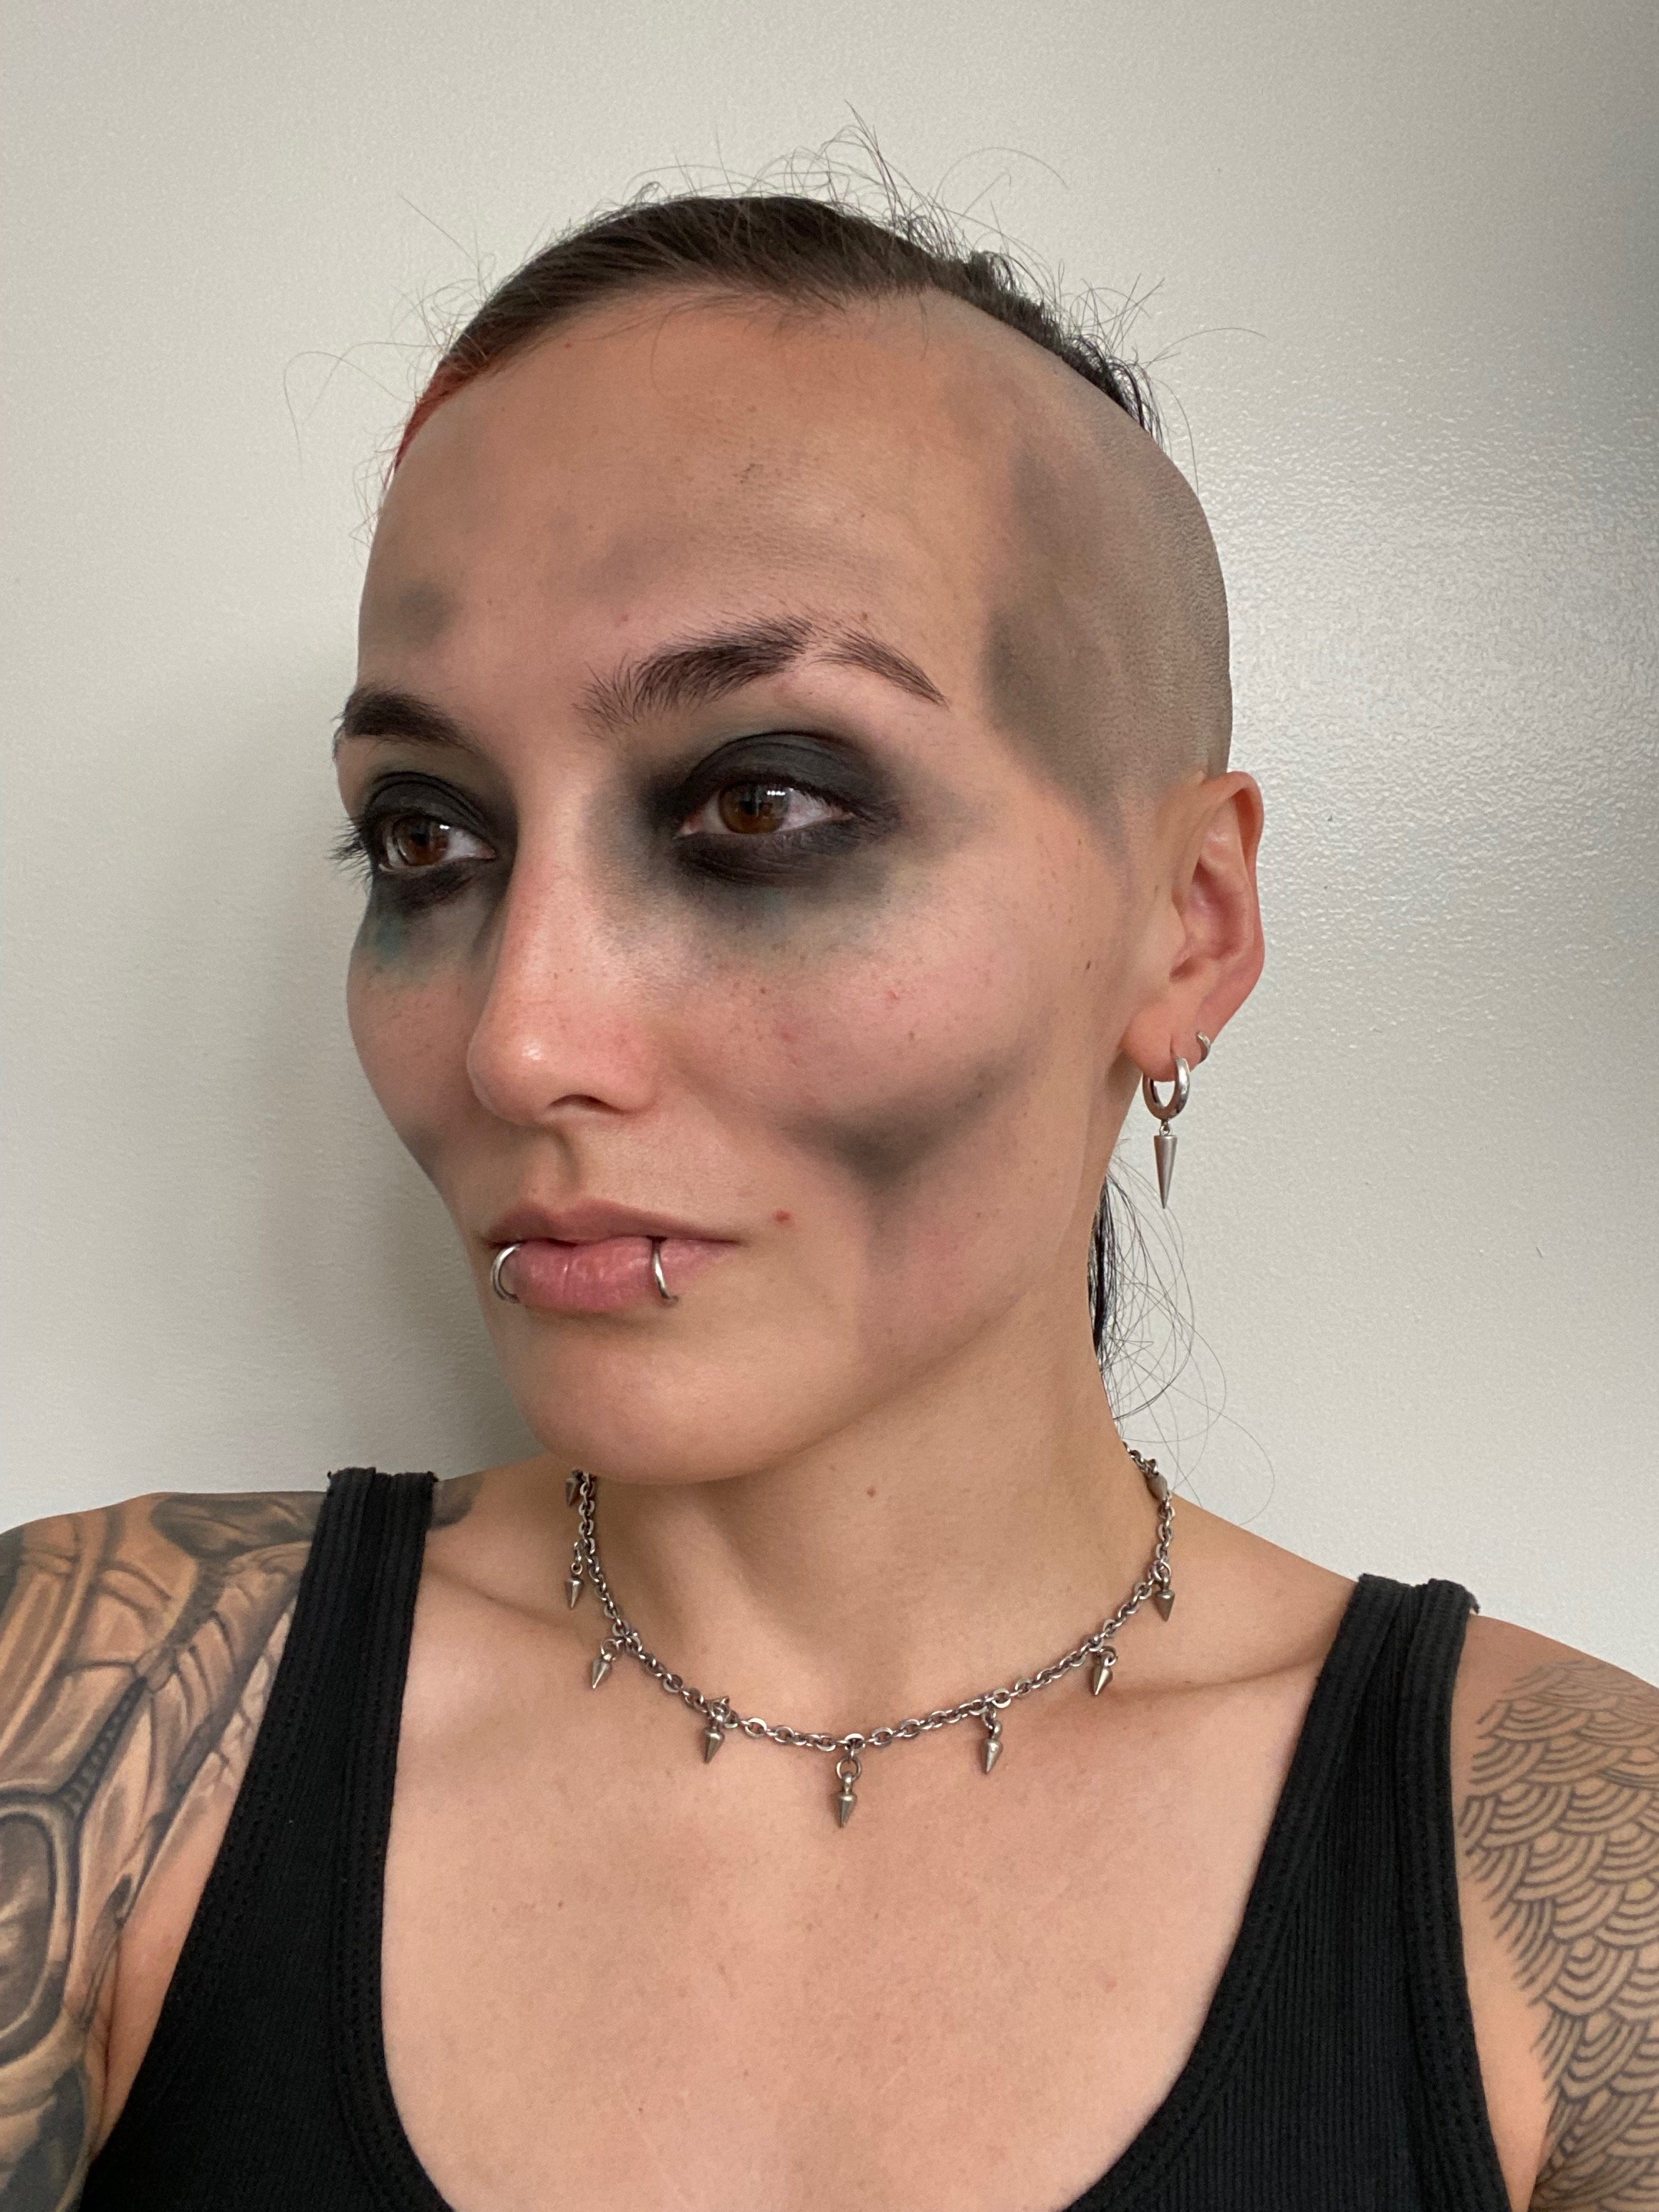
Zombie Makeup Tutorial
A quick and dirty makeup tutorial by PB Writer, Kathleen!
Supplies
Everything I used for this look came from some convenience store or other. If you don’t already have all this lying around, it should be cheap and easy to find.
Makeup brushes (1 flat eyeshadow brush and 2 sizes of blending brush)
Dark red lipliner pencil
Dark brown and black eyeliner pencils
Multicolor eyeshadow palette (conveniently in all the same colors as a bruise wheel, lol). The colors I actually used for this look were purple, green, and yellow
Black powder eyeshadow
Black cream eyeshadow
Concealer stick
Dark red lipstick
(Not pictured) clean tissues
Step 1: Eyes
With a blending brush, apply the green shadow all around both eyes, following the shape of your eye socket. Apply some purple shadow over this to create a mottled texture.
Using the flat brush, apply black cream shadow in a pretty thin line all the way around your eye. Use a round brush to add black powder shadow over the cream shadow and blend this out a bit, making sure not to cover all of the green/purple stuff
Step 2: Contouring
To give your face a more sunken, skeletal look, apply a small amount of black powder eyeshadow under your cheekbone and blend it out into an inverted triangle shape (note: a little bit of shadow goes a LONG way. Keep some tissues on hand to remove excess shadow and clean up your lines). Add shadows to your temples and to either side of your nose bridge. Again, the idea is to follow the natural contours of your bones.
Step 3: Wounds
Using the red lipliner, sketch out where you want your wounds to be, making sure the edges are nice and ragged and “torn” looking.
Using the flat brush, fill in your lines with red lipstick, then create texture inside the wound by scribbling with the black and brown eyeliner pencils. Hot tip: tracing the edges of the wound in brown creates a lot of nice depth, and leaving some gaps in the line will make it look more natural.
Step 4: Lips
Cover lips with concealer, then apply red lipstick in a messy blood-smear pattern. Use the lipliner pencil and/or more lipstick on the flat brush to make drips going down your chin.
Apply both eyeliner colors and the black cream shadow over the lipstick for texture, adding more lipstick as needed to create a wet/sticky look. Keep layering until it looks nice and messy and gross!
Step 5: Finishing Touches
At the end I went back in with a blending brush and gave my skin some additional texture/contouring with the powder eyeshadows (yellow for highlights, purple and green for shadows). Feel free to add some smudges of black shadow here and there to just dirty things up a bit more.
All done! Put in your creepy contact lenses if you’ve got ‘em, or just learn to roll your eyes back in your head like I did :P Happy shambling!
-Kathleen, PB Writer for Wake the Dead
Shoutout to Kathleen for sharing these zombie makeup skills with us! We hope you enjoyed checking out this tutorial. If you give it a go, please feel free to let us know and tag us with #playchoices on your social media! Good luck and talk to you all soon!
<3 The Community Team


